
So you’re thinking about buying an RV—maybe your first, maybe just your next.
Whether you're dreaming of road trips or planning to rent it out for extra income, one thing is certain:
What you don’t check now can cost you later.
It’s easy to get caught up in the excitement. The shiny cabinets. The perfect layout. That cozy “home on wheels” vibe. But before you sign on the dotted line, take a breath—and take a closer look.
In this guide, we’ll walk you through exactly how to inspect an RV before buying it—what to look for, what to test, and where problems like to hide. We’ve included real examples from buyers who missed things (and paid for it), along with practical tips to help you buy with confidence.
Let’s dive in.
Table of Contents
- Why a Pre-Purchase RV Inspection Matters
- Start with the Outside: Body, Tires, and First Impressions
- The Roof: One Leak Can Ruin Everything
- Inside the RV: Floors, Ceilings, and What Your Nose Tells You
- Power Check: Lights, Outlets, Slides & Batteries
- Plumbing & Tanks: Don’t Skip the Flush Test
- Appliances & Comfort Systems: The “Little” Things That Renters Notice
- Underneath the RV: Frame, Rust & Hitch Safety
- Real Story: The Leak That Cost One Buyer $8,000
- Need Backup? Why Some Buyers Use RVM for Pre-Purchase Help
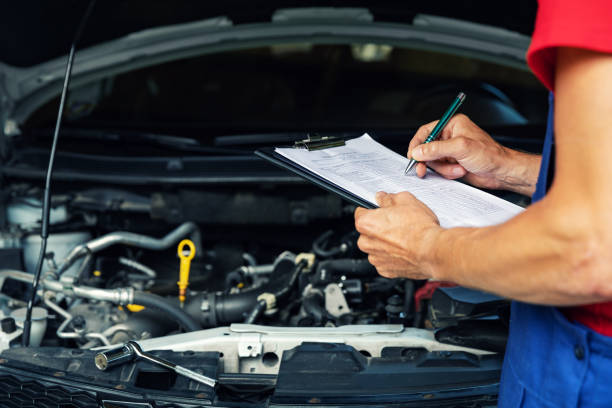
1. Why a Pre-Purchase RV Inspection Matters

Here’s the truth: An RV can look perfect on the surface but hide thousands of dollars in damage underneath.
We’ve seen buyers walk away with what they thought was a deal, only to find mold behind the walls or busted plumbing a month later. And when you're renting it out? These issues don’t just affect your trips—they take money straight out of your pocket.
Taking time to inspect an RV upfront protects your investment and your peace of mind.
2. Start with the Outside: Body, Tires, and First Impressions
Begin with a simple walkaround.
Check the outside like a renter would:
- Do the tires look dry, cracked, or old? (Check the date code.)
- Are the windows foggy or seals peeling?
- Any signs of water streaks, dents, or rust?
Open every exterior storage door and look around the trim and seams. If something feels “off,” don’t ignore it.
Pro tip: If it looks rough outside, it’s probably hiding something inside.
3. The Roof: One Leak Can Ruin Everything
Roofs are where most major RV problems start—but they’re easy to forget. If you can’t climb up safely, ask someone who can.
Look for:
- Cracks in the sealant around vents or antennas
- Soft or spongy spots in the roof membrane
- Gaps around slideouts or roof-mounted AC units
A small hole today can lead to serious water damage six months from now.
4. Inside the RV: Floors, Ceilings, and What Your Nose Tells You

Now step inside—but don’t just admire the cabinets. Do this instead:
- Walk barefoot. Feel for soft spots or uneven floors, especially near the walls and bathroom.
- Smell everything. Musty, damp, or stale smells are often signs of hidden leaks.
- Check the ceiling corners and under windows. Look for water stains, sagging, or discoloration.
Trust your senses. If something feels weird, ask more questions.
5. Power Check: Lights, Outlets, Slides & Batteries
Plug the RV into shore power or turn on the generator. Then test:
- All lights, inside and out
- Power outlets (use a phone charger to double-check)
- Slideouts—make sure they open/close smoothly
- Battery charge (does everything still work when unplugged?)
A weak battery system or finicky slides can become rental nightmares fast.
6. Plumbing & Tanks: Don’t Skip the Flush Test
Yes, this is the unglamorous part—but you’ve got to do it.
Run every faucet. Flush the toilets. Fill and drain the tanks if possible. Watch for:
- Low water pressure
- Leaky pipes under sinks or showers
- Bad smells from drains or the black tank system
Plumbing repairs are expensive—and they always show up at the worst time.
7. Appliances & Comfort Systems: The “Little” Things That Renters Notice
Test all the big stuff:
- Does the fridge cool down properly on electric and propane?
- Does the AC blow cold and run quietly?
- Does the furnace turn on and heat evenly?
- Does the water heater work on both power sources?
These are the things that make or break a trip—yours or a renter’s. Don’t just assume they work.
8. Underneath the RV: Frame, Rust & Hitch Safety

Take a look under the RV. If you’re not comfortable doing this yourself, ask a mobile tech or inspector.
Look for:
- Excessive rust on the frame or axle components
- Loose bolts, weld cracks, or signs of damage
- Condition of the hitch, wiring, and brake connections
If it tows or drives, safety comes first. Always.
9. Real Story: The Leak That Cost One Buyer $8,000
One buyer we worked with bought a used Class C privately—no inspection, just a walkaround and a promise.
One month later? The rear wall was rotting from a slow leak no one noticed. Repairs took two months and cost over $8,000. Meanwhile, they missed the entire summer rental season.
That could’ve been caught with a $100 inspection.
10. Need Backup? Why Some Buyers Use RVM for Pre-Purchase Help
If you’re not sure what to look for—or you’re buying from out of state—we can help.
At RVM, we guide owners through pre-purchase checklists, and when needed, we connect them with trusted RV techs or inspectors.
We’ve seen the difference a smart inspection makes:
- Better rental readiness
- Fewer post-purchase surprises
- More money earned and fewer repair bills
When you buy right, everything else gets easier.
Final Thoughts: Inspect With Purpose, Not Panic
You don’t need to be a mechanic to inspect an RV—but you do need to slow down and look beyond the surface.
Here’s what to remember:
- Be thorough, not rushed
- Ask questions and don’t be afraid to walk away
- Test everything like a renter would
- Know when to bring in help
A well-inspected RV becomes a reliable rental—and a better experience for everyone.
Thinking about buying soon? Let’s talk. We’re happy to help you avoid the common mistakes and make a smarter investment from day one.
— The RVM Team